31/10/2023 – Ethan Wilkinson
Relevant product(s): All
Operating systems: Windows, RHEL
Versions affected: All
Relevant area(s): Tool Installation
Summary
The Siemens EDA installer is packaged with features that allow installation of the tools via the GUI, or in batch mode via the commandline. This article shows how both modes can be used.
Pre-requisites
- Downloaded relevant tool installer from Siemens Support Center
Details
Installation using the GUI
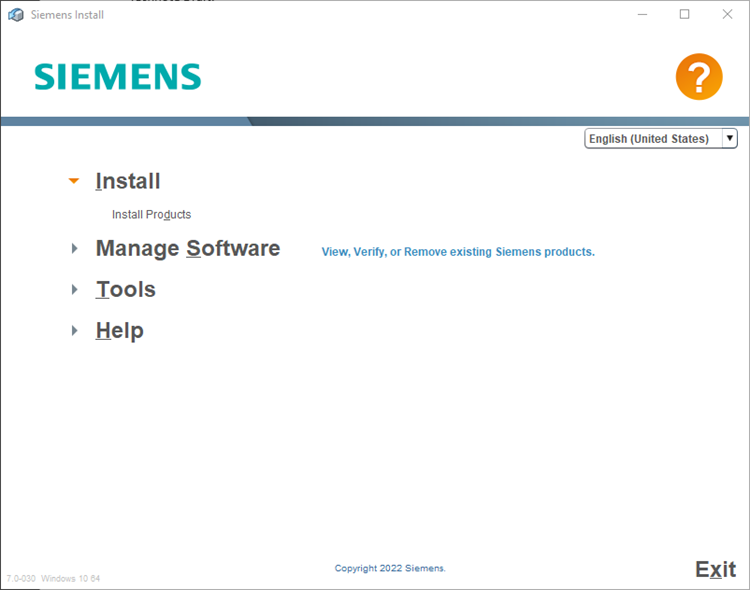
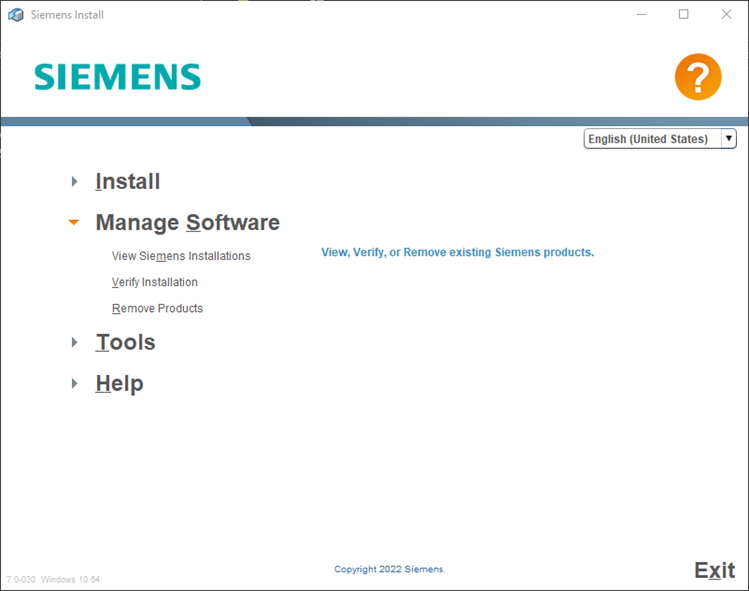
The GUI has 4 options, which are described below:
- Install
- Manage Software
- Tools
- Help
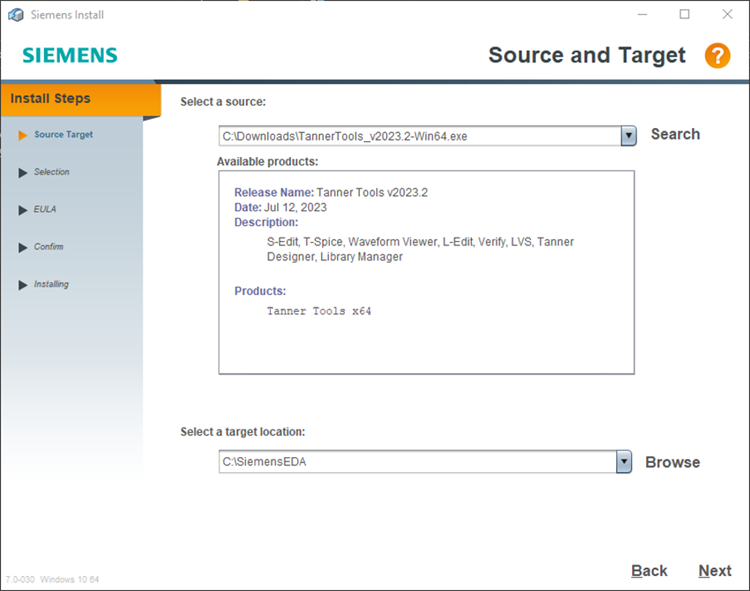
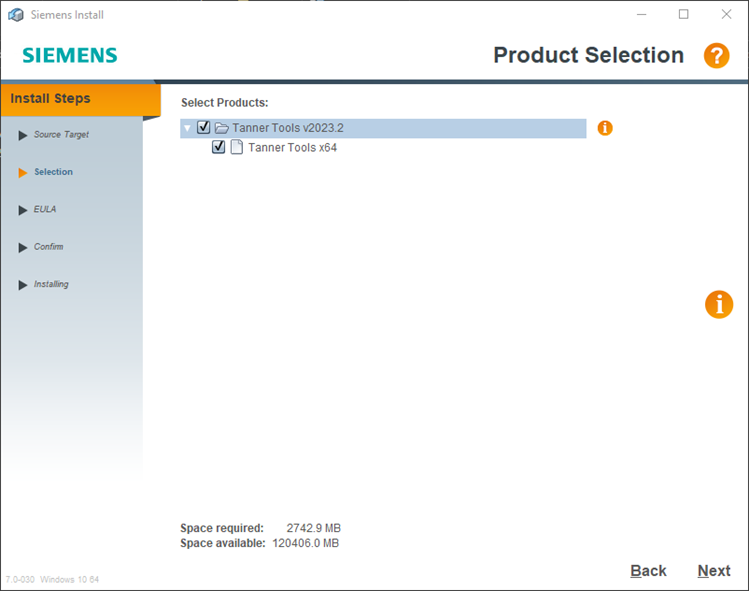
“Install” option
The install option is the primary method of acquiring the desired tools. Once selected the source and target, you can select the specific tools you are installing and confirm installation.
“Manage software” option
Once the software is installed, there are tools available in the installer that will allow you to manage the software.
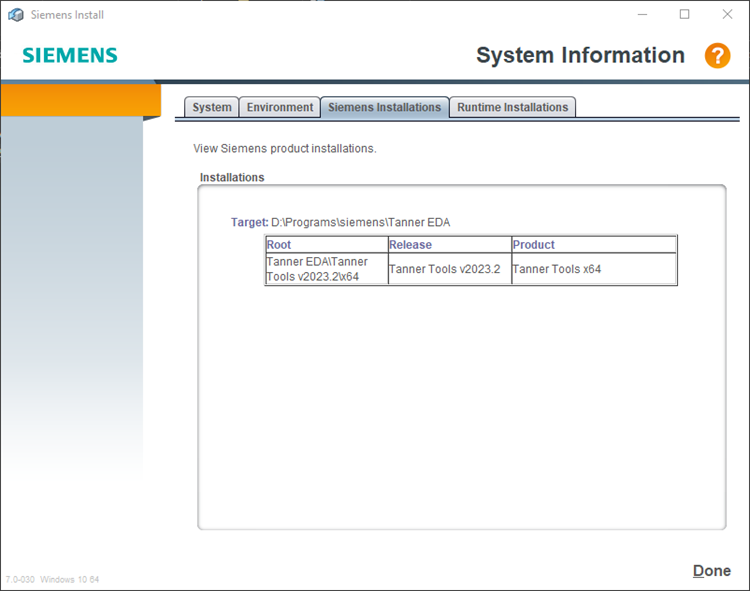
The first tool, “View Siemens Installations” will show you all downloaded tools and their location.
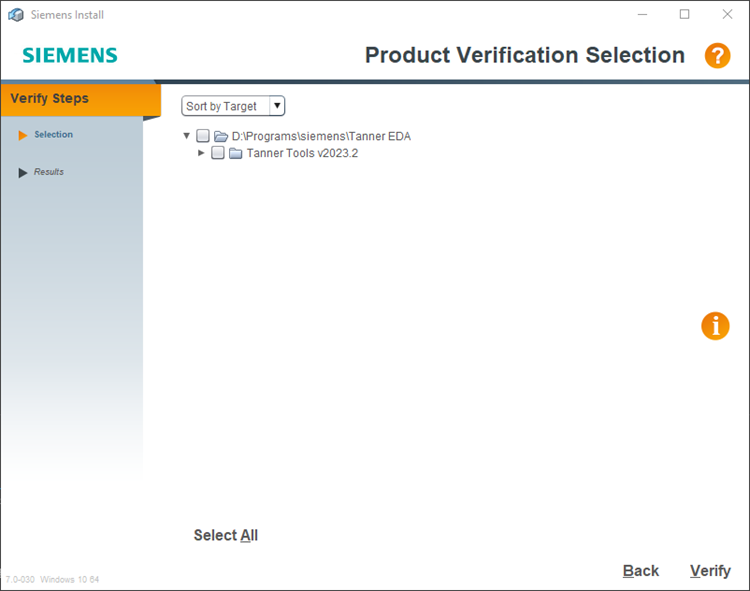
The “Verify Installation” tool is useful for checking whether the installation of a tool was successful. Check the programs that you wish to verify. Once you are happy with your selection, use the “Verify” button. The results pane will show you whether the installation was successful and whether there were any errors.
The remove product tool works similarly to the installer. Select the products you wish to uninstall and then confirm. In the confirmation tab, you are given the option to “Keep user-modified files” which will not remove files that have been changed by the user to suit their setup.

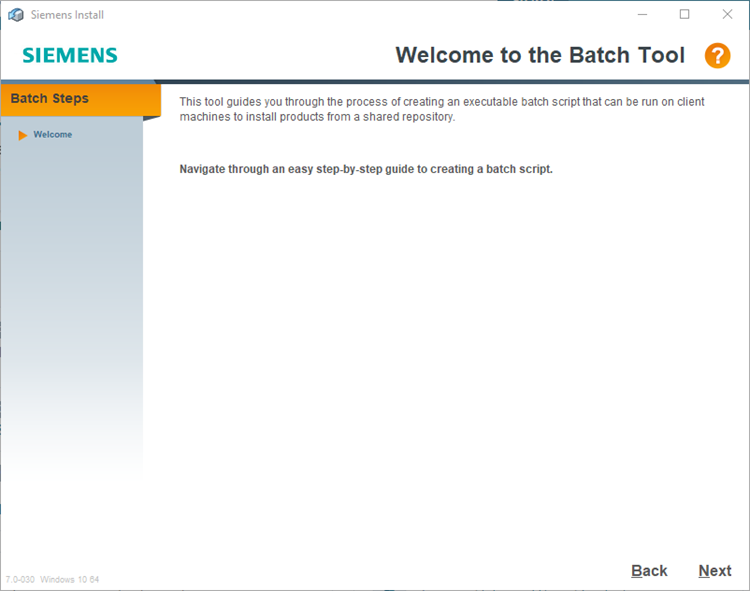
“Tools” option (Batch tool)
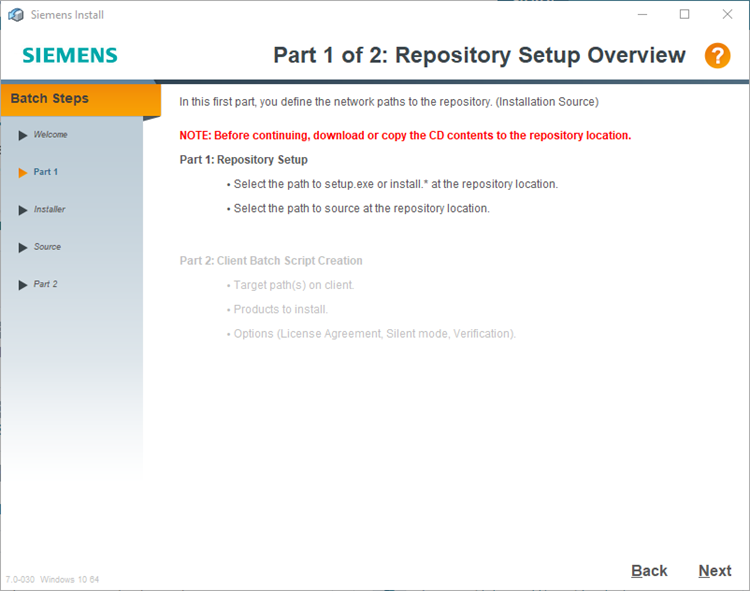
A useful feature of the installer is the “Batch Tool”. The tool allows you to create an executable script that will install selected products. This is done in an unattended mode which is useful for installing tools on several machines, without going through the whole download and install procedure. This product works in both Windows and Linux machines and will generate the correct executable accordingly.
The Batch Tool provides prompts and will then generate the script for you.
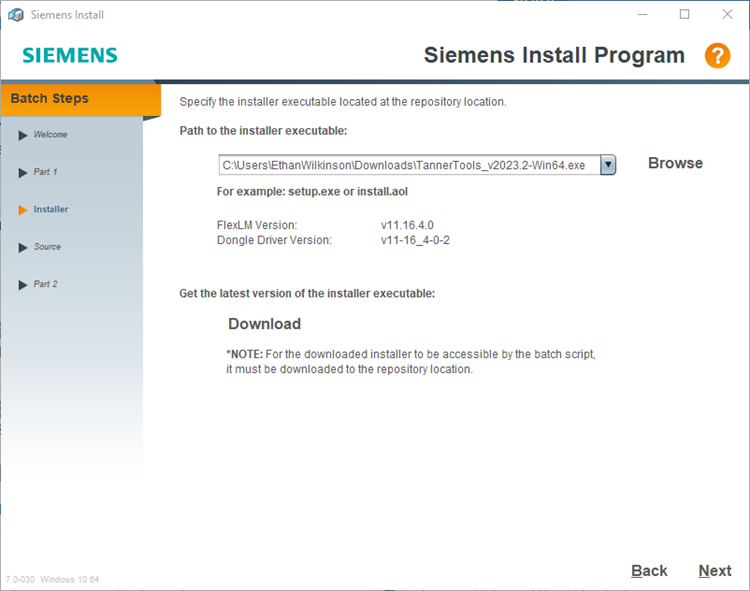
- Specify the path to the installer which has been downloaded from Siemens Support Center. If you are using an old installer, there is the option to get the latest by using the” Download” button.
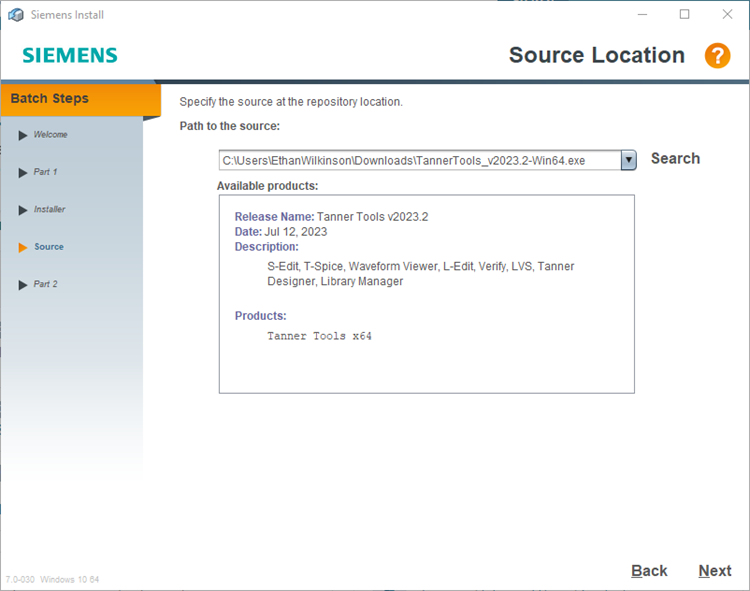
2. Specify the path to the source. This step will display what products are available to be downloaded.
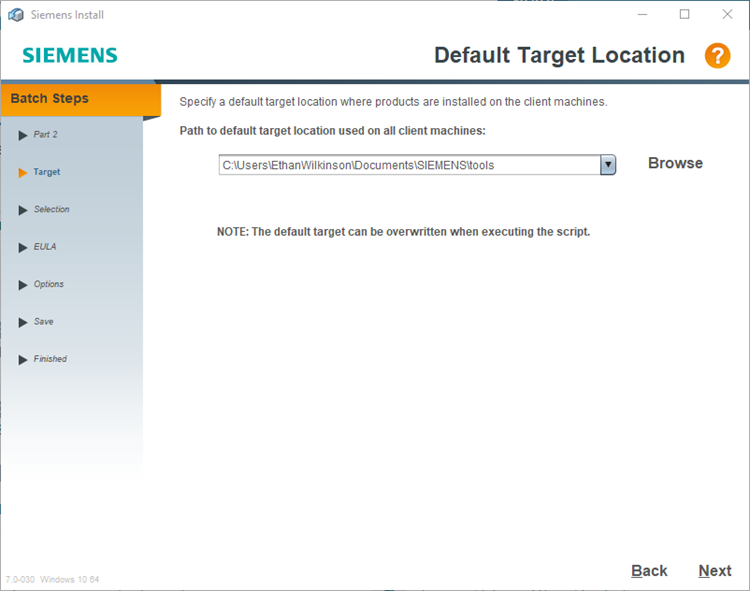
3. Specify the path to the target location on the client machine.
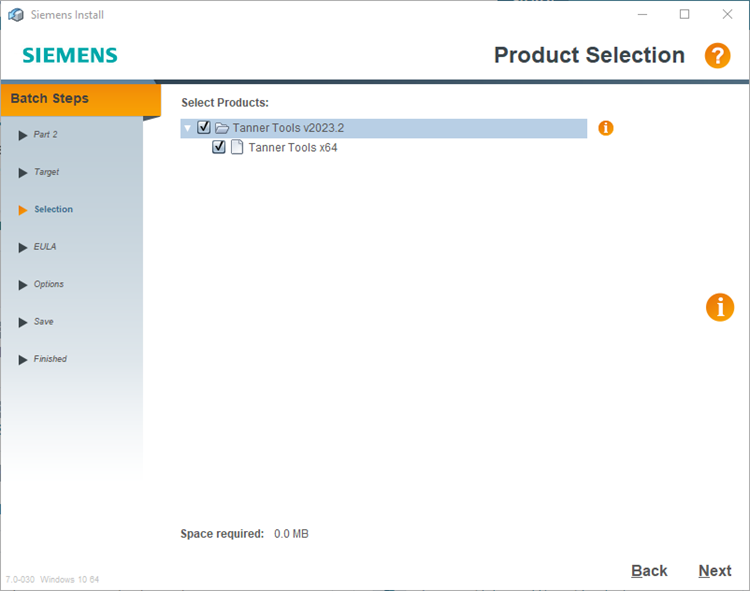
4. Select the tools that the batch script should install on the client machine. The available tools will have been displayed earlier in step 2.
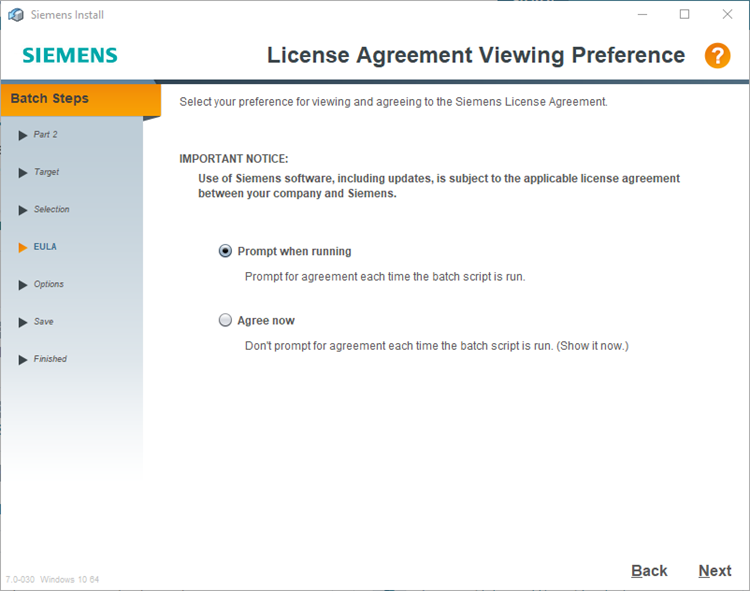
5. Choose whether to agree to the EULA now, which will require less input on the client side, or prompt the client machine at the time of downloading.
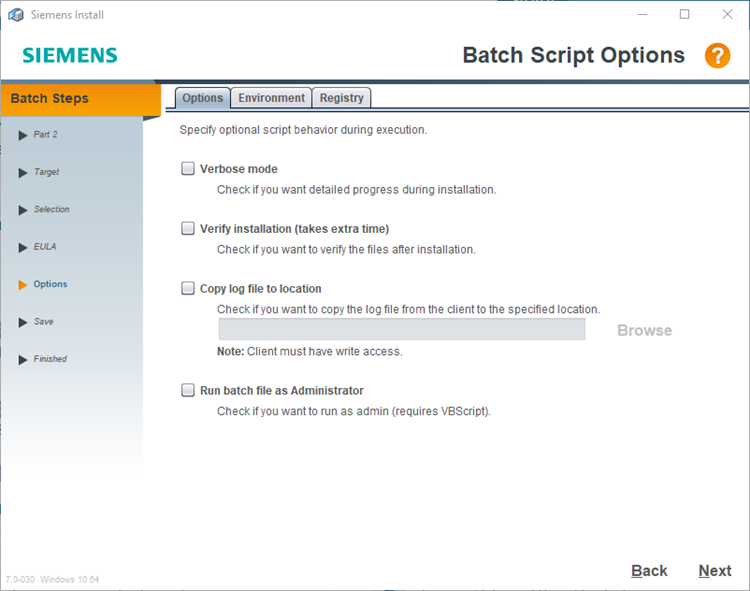
6. Select the options depending on how the installer should run.
- Verbose mode will output the progress of the installer on the client’s machine as it runs.
- Verify installation will verify whether the installation was successful and raise any errors/ warnings which may have occurred.
- Copy log file to a location will download a log of the installation in a specified location.
- Run batch file as Administrator gives the scripts permission to run on a client machine which does not have these privileges.
After this you are prompted to save the script, which is then ready to be executed.
“Help” option
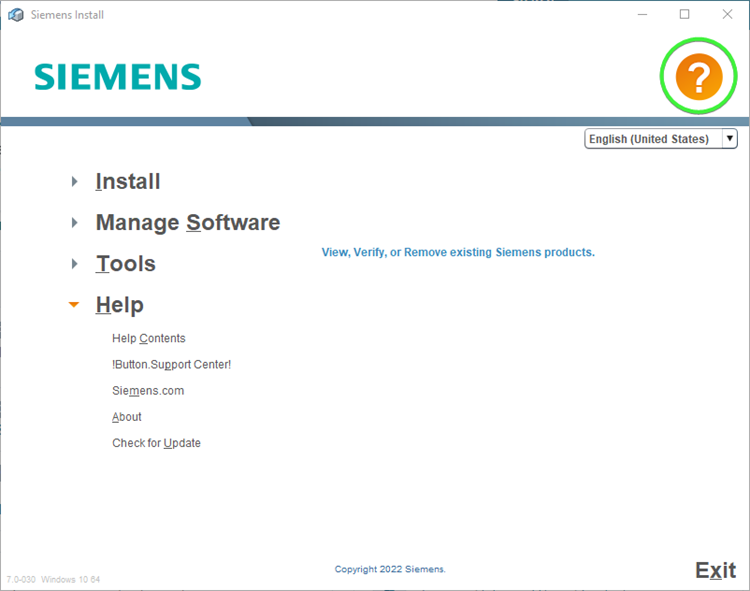
Help can be accessed within the tools. Useful links are provided which can take you to the Siemens Support Center and Siemens.com and well as “Help Contents”.
There is an option to check for an update, which will find the latest version of the installer for you.
There is also an “About” option which provides information about the tool including version and OS.
Help can also be accessed from the yellow question mark in the top right of the pop-up menu.
Batch installation via the commandline
Unattended installation on multiple clients
Use the installer tools above to access the “Batch” tool from the GUI as described above. This tool will generate a script for your OS to be used to perform the unattended installations of the tools.
Standalone installation via commandline
The tools can be installed in a “headless” mode where the options for installing the tools will be done within the command terminal instead of in the pop up GUI. This feature is available in both Windows and Linux.
The command to install the tools is:
| <siemens_installer_program> -batchall -tgt <target_path> |
Where the “Siemens Installer Program” is the executable downloaded from Siemens Support Center and the “Target Path” (tgt) is where in the file directory the tools should install to.
An example of the resulting command in Windows could look like the following:
| C:\Downloads\TannerTools_vxxxx.x-Win64 -batchall -tgt C:\Programs\TannerEDA |
In Linux, the command may be:
| ./TannerTools_vxxxx.x.bin -batchall -tgt /opt/Siemens/Tanner_vxxxx.x |
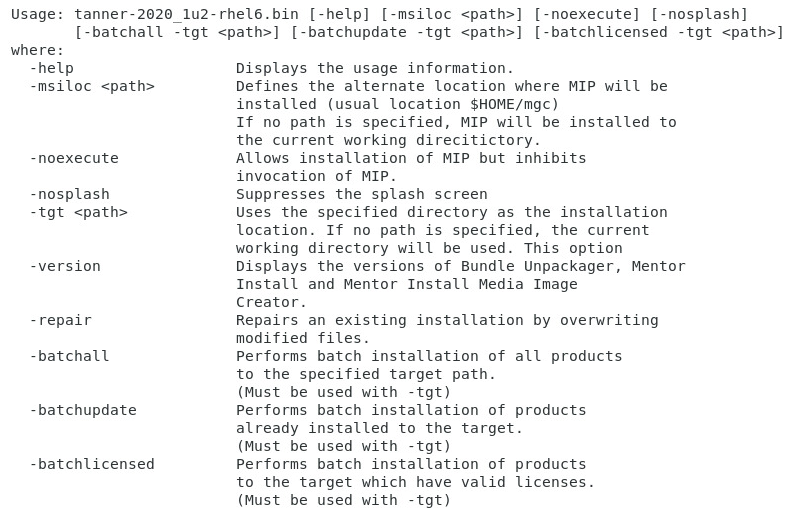
Other commands can be performed on the installer program. These can be found by using the “-help” argument after the Siemens installer program.